Essential Steps for Dimensioning a Floor Plan in Revit
Dimensioning a floor plan in Revit is a crucial step in creating accurate and informative construction documents. Dimensions provide essential information about the size, shape, and relationships between different elements of a building. By following these steps, you can ensure that your floor plans are clear, precise, and meet industry standards.
1. Set Up the Drawing View
Start by creating a new drawing view or opening an existing one. Ensure that the view is appropriately scaled and oriented for dimensioning. You can use the "Scale" and "Orientation" settings in the View Properties dialog box.
2. Create Dimension Styles
Revit allows you to create custom dimension styles that control the appearance, precision, and placement of dimensions. To create a new dimension style, go to the "Manage" tab, select "Dimension Styles," and click "New." Adjust the settings as desired, including the text font, size, and color.
3. Apply Dimension Types
There are various types of dimensions available in Revit, including linear, aligned, radial, and angular. Choose the appropriate dimension type based on the element you want to dimension. For linear dimensions, select the two points you want to measure.
4. Set Dimension Precision
The precision of a dimension refers to the number of decimal places displayed. You can adjust the precision in the Dimension Properties dialog box. For general construction dimensions, a precision of 1/16" or 1/8" is typically sufficient.
5. Place Dimensions Manually
Once the dimension types are selected, you can place them manually by clicking on the points you want to dimension. Use the "Dimension > Place Dimension" command to add dimensions to the floor plan.
6. Use Dimensioning Tools
Revit provides several tools to assist with dimensioning, including the "Dimension Linear," "Dimension Aligned," and "Dimension Radius" tools. These tools automatically place dimensions based on the selected geometry or elements.
7. Align and Distribute Dimensions
After placing dimensions, you can align and distribute them to ensure a consistent and organized appearance. Use the "Dimension > Align Dimension" and "Dimension > Distribute Dimension" commands to adjust the spacing and alignment of dimensions.
8. Add Dimension Text and Symbols
You can add text or symbols to dimensions to provide additional information. For example, you can include the size of a window or the length of a wall. Use the "Dimension > Add Text to Dimension" and "Dimension > Add Symbol to Dimension" commands.
9. Review and Adjust Dimensions
Once the dimensions are placed, take the time to review and adjust them as necessary. Check for accuracy, consistency, and proper placement. Make sure that the dimensions are readable and do not overlap or conflict with other elements of the floor plan.
Conclusion
Dimensioning a floor plan in Revit involves several essential steps that ensure precision, clarity, and compliance with industry standards. By following these steps, you can create floor plans that effectively communicate the size, shape, and relationships between building elements.

Help Part 11 Add Dimensions Autodesk

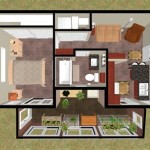
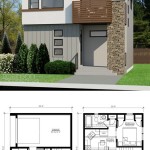
14 Beginner Tips To Create A Floor Plan In Revit Pure

Revit Tutorial Dimensioning Floor Plan

14 Beginner Tips To Create A Floor Plan In Revit Pure

Help Part 11 Add Dimensions Autodesk

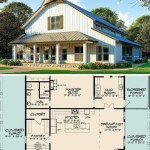
Engineer Civil Revit Residentialdesign Jeffery J Jensen Wiki

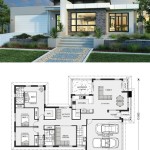
14 Beginner Tips To Create A Floor Plan In Revit Design Ideas For The Built World

Revit Tip Entire Wall Dimensioning Envisioncad

14 Beginner Tips To Create A Floor Plan In Revit Design Ideas For The Built World

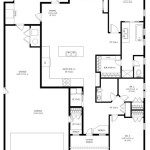
Revit Annotations Dimension Cadnotes
Related Posts